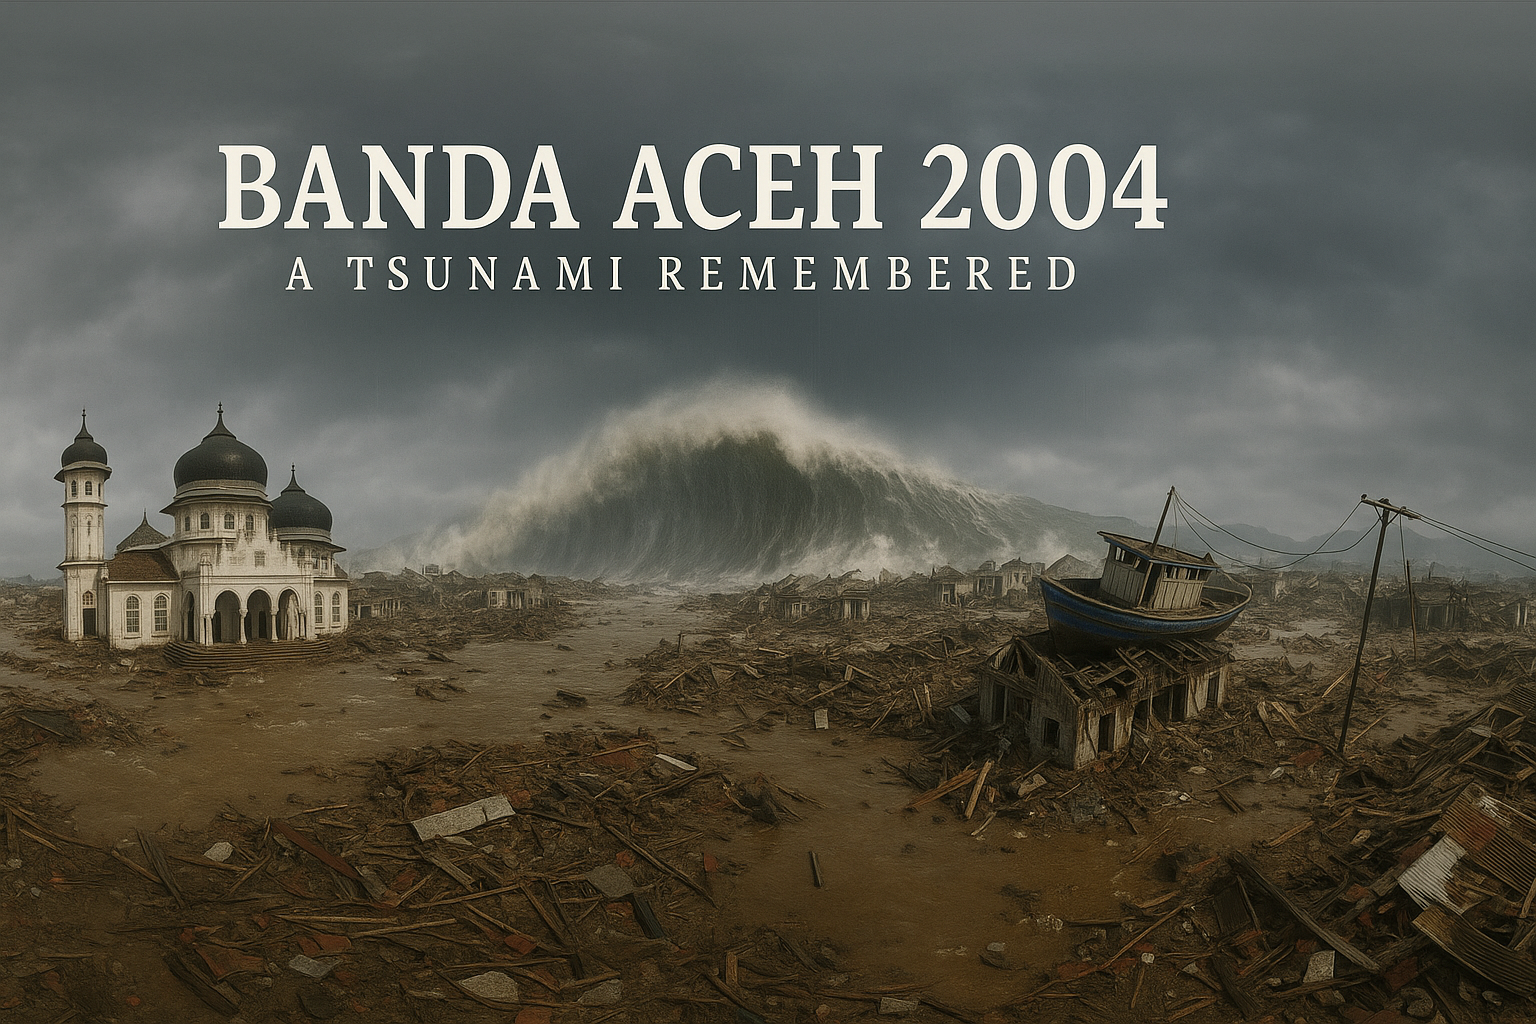
🎥 "Banda Aceh 2004: A Tsunami Remembered"
A dramatic cinematic 360-degree video scene set in Banda Aceh 2004, captured from a floating wooden platform camera perspective. The scene begins with a distant, low rumble and growing ocean wave on the horizon. As the wave rises into a towering tsunami, the platform bobs violently on the dark, turbulent water. The camera stays mostly steady but sways naturally with the water. In front, the enormous wave crashes into a coastal neighborhood. A large blue fishing boat is lifted by the water and carried inland. In one continuous wide shot, the boat is thrown violently onto the rooftop of a small wooden house, splintering debris and electric poles around it. The Baiturrahman Grand Mosque is seen partially in the background, still standing. The lighting is dark, grey, stormy. The audio features deep rumbles, rushing water, screaming wind, and cracking timber. The camera never cuts — it slowly rotates in 360°, capturing destruction, floating debris, and the surreal moment the boat lands on a roof. Realistic water physics, debris dynamics, and spatial sound are essential for immersion
📁 PHASE 1: PRE-PRODUCTION
✅ 1. Story & Script Development
-
Create 3-part structure:
- Earthquake Scene
- Tsunami Wave Impact
- Aftermath, Survivors, and Rebuilding
✅ Tools:
- Use Google Docs or Notion to draft the script.
- Divide script into Voiceover + Visual actions for each scene.
✅ 2. Storyboarding & Scene Planning
-
Design a 7-scene storyboard (can be sketched or digital):
- Use Storyboarder (free) or PowerPoint.
-
Each scene should include:
- Key visual focus (e.g. boat on rooftop)
- Ambient sound description
- Timing estimate (e.g. 30–45 sec per scene)
✅ 3. Asset Planning & Collection
-
List all assets:
- Buildings (Aceh houses, masjid)
- Boat
- Rubble, debris
- Tsunami water FX
- People / animations
✅ Sources:
- Quixel Megascans (free with UE5)
- Sketchfab / TurboSquid / CGTrader for boats/vehicles
- Blender to customize assets
🛠️ PHASE 2: PRODUCTION (UNREAL ENGINE 5)
✅ 4. Project Setup
- Launch Unreal Engine 5
-
Create new project:
- Type: Blank or First-Person
- Add Starter Content
-
Enable plugins:
- Panoramic Capture
- Niagara FX
- OpenXR / Oculus plugin (for testing in VR)
✅ Folder Structure:
- Assets/Environment
- Assets/Characters
- Scenes/Earthquake
- Scenes/Tsunami
- Audio/Voiceovers
- Audio/SFX
✅ 5. Build Your 3D World
🌇 Scene 1: Earthquake
- Use landscape tool to sculpt Aceh terrain.
- Add buildings, mosque, streets.
- Animate building collapse using Chaos Physics.
- Add debris/dust FX using Niagara.
🌊 Scene 2: Tsunami Wave
- Import ocean material or use Fluid plugin / Niagara.
- Animate large-scale water movement.
- Add boats flipping, people climbing to rooftops.
- Use physics on light objects for realism.
🕌 Scene 3: Aftermath
- Show a standing mosque in the middle of ruin.
- Place stranded boat on rooftop.
- Add survivor characters, damaged environment.
- Use decals for mud, dirt, broken walls.
✅ 6. Lighting & Cinematics
- Use Directional Light + Sky Light for each scene.
- Add Volumetric Fog to create emotion (especially in aftermath scene).
-
Control lighting per scene:
- Bright for prayer scenes
- Grey/dark for tsunami
- Use CineCameraActor to position for emotional framing (even in 360°)
✅ 7. 360° Camera Setup
Option A: Unreal Marketplace Plugin
- Install: 360 Capture Plugin
- Place PanoramicCaptureActor in center of each scene
Option B: DIY Cubemap Method
- Place 6 SceneCapture2D actors (front, back, left, right, top, bottom)
- Render cubemaps
- Stitch using ffmpeg or Adobe After Effects
Render Settings:
- Resolution: 4096 x 2048
- FPS: 30 or 60
- Format: .mp4 / .mov
✅ 8. Voiceover & Audio
-
Record voiceovers:
- One version in Bahasa Malaysia
- One in English
- Tools: Audacity, Adobe Audition
- Import WAVs into UE5.
- Use Attenuation & Spatialization settings for ambient audio.
-
Add 360 ambisonic background audio:
- Ocean sounds
- People crying, praying
- Helicopter flying above
🧪 PHASE 3: TESTING & OUTPUT
✅ 9. Testing
- Test in-editor using VR Preview
-
If testing on device:
- Enable Oculus/SteamVR
- Package for Windows + OpenXR
✅ 10. Exporting Final Video
- Use Render Movie Queue to render each 360 scene
- Combine scenes in Adobe Premiere Pro or DaVinci Resolve
-
Add:
- Crossfades between scenes
- Text overlays (e.g. “26 Disember 2004”)
- Subtitle tracks (BM + EN)
-
Export:
- Equirectangular 360 (MP4) – for YouTube VR
- EXE / APK build – for Oculus / Android VR viewers
📤 PHASE 4: DISTRIBUTION
✅ 11. Publish to Platforms
| Platform | Format | Note |
|---|---|---|
| YouTube VR | MP4 (equirectangular) | Add 360° video metadata |
| Meta Quest | .EXE or APK | Test with SideQuest |
| Museum VR Station | Kiosk .EXE | With touchscreen menu or auto-play |
| School Cardboard Viewer | Upload on YouTube | Provide QR code |
📣 PHASE 5: MARKETING & DOCUMENTATION
✅ 12. Poster, Trailer & Pitch Kit
-
Create:
- Short 30–60 sec 360° trailer
- Project poster
- One-pager PDF for media and funders
-
Submit to:
- Film festivals (Venice Immersive, IDFA)
- Educational platforms
- Malaysian grants (FINAS, MyCreative, Hasanah)
🗂️ BONUS: FOLDER DELIVERY STRUCTURE (FOR CLIENT / MUSEUM)
CopyEdit
/Final_Project_BandaAcehVR │ ├── Executable_VR/ │ ├── WindowsVR.exe │ └── Oculus.apk │ ├── 360_Video/ │ ├── BandaAcehVR_BM.mp4 │ ├── BandaAcehVR_EN.mp4 │ ├── Voiceover/ │ ├── VO_BM.wav │ └── VO_EN.wav │ ├── Poster_&_Trailer/ │ ├── Poster_HD.jpg │ └── Trailer_360.mp4 │ ├── Documentation/ │ ├── Script_BM_EN.pdf │ ├── Budget.xlsx │ └── Storyboard.pdf